 |
| Our tree full of leaves and with a yellow ribbon in honor of soldiers sailors and airmen still deployed. |
In order to bring a sense of gratitude to the Holidays I wanted to create something unique. Since I had recently seen a "spooky tree" made from paper bags on the FamilyFun.com site for Halloween it popped into my mind that it might make a good gratitude tree. I decided to try it on a larger scale suing several large shopping bags.
 |
| This is our tree before the leaves... |
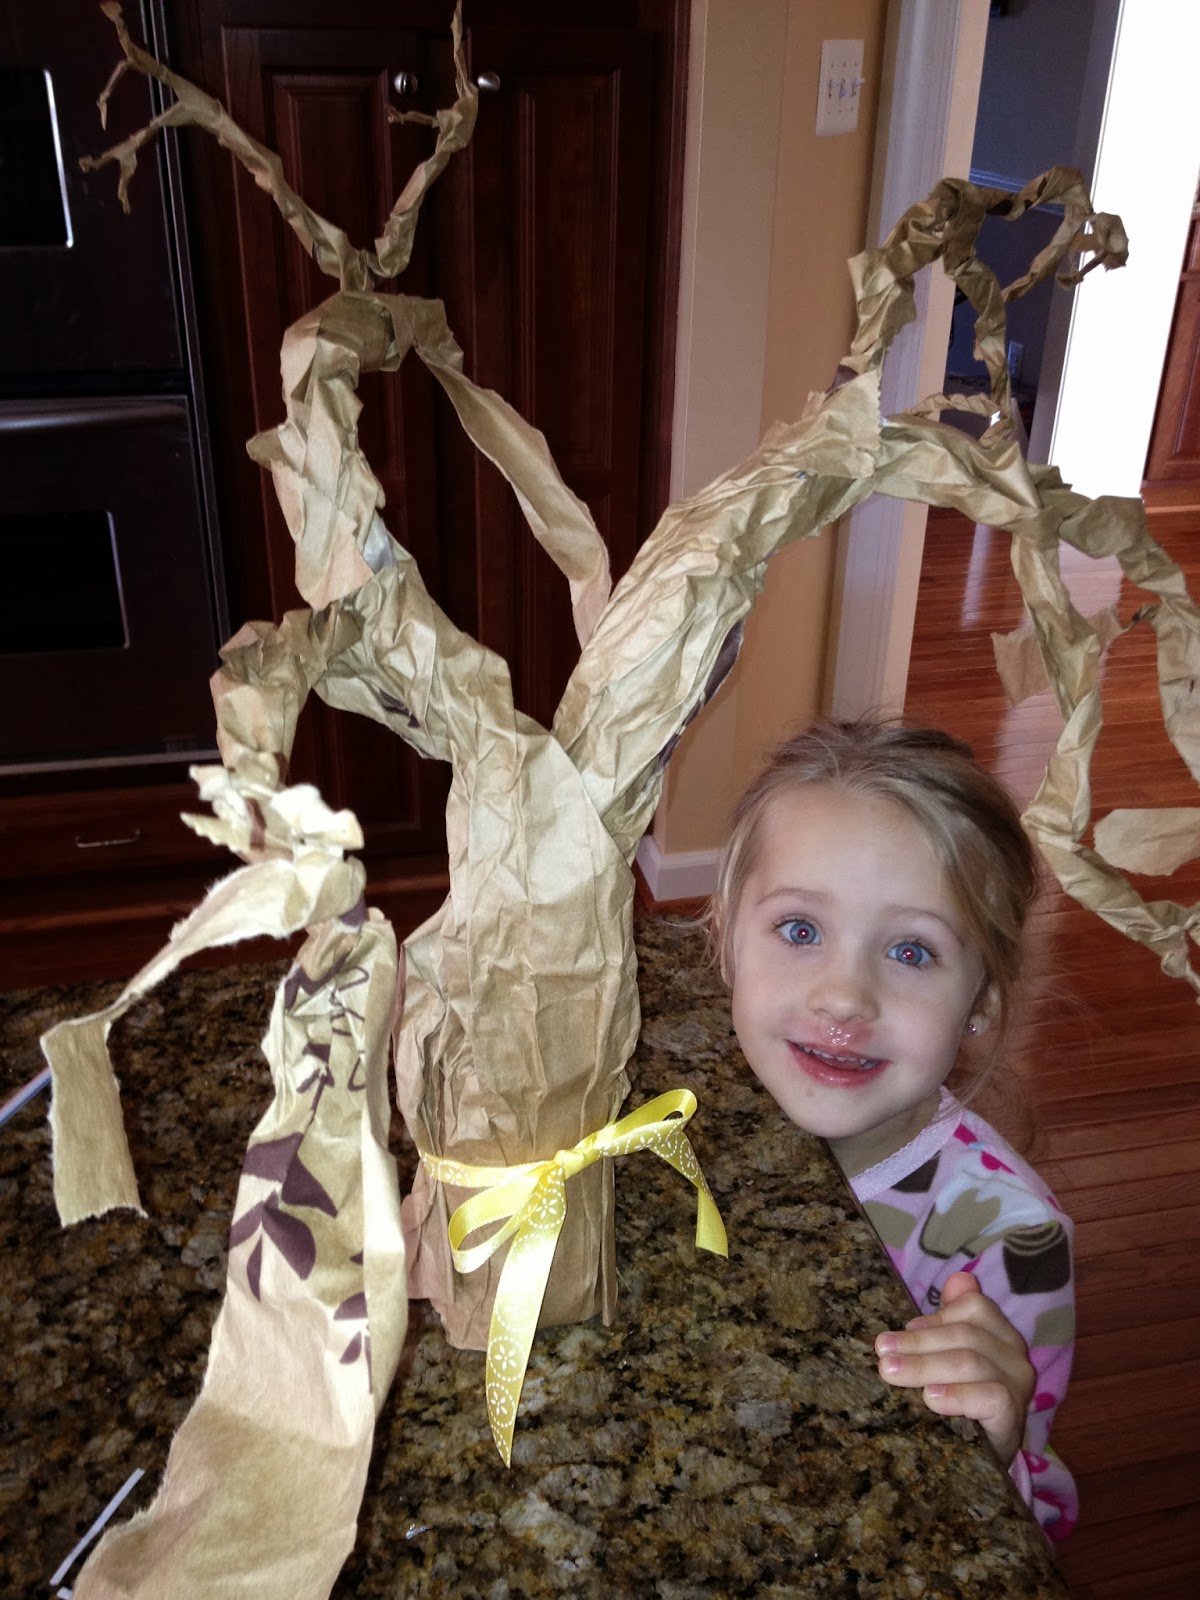
Next I taped the pieces overlapping to cover a sauce jar, I think Ragu pizza sauce but I could be mistaken. LOL Then, using a spray bottle of water I lightly misted the strips and twisted them around until I felt it looked right. It was a make it up as you go along kind project after all.
Here's how it started out:


The leaves were cut using my Cricut Expresssion, but I am not sure of the cartridge. Any simple leaf shape will do. I used several colors and sizes just for fun.
This last part is my favorite. :)
At first I was thinking the project turned out pretty but not as effective as hoped. I sat down with the girls and explained the idea of writing on the leaves and soon they thought of a few things and put a few leaves on. Well I wasn't overwhelmed with the initial response frankly and had hoped for better.
But after Thanksgiving dinner was all done and everyone was puttering around the house doing various things. I spied G (my intense middle child) in the dining room writing. I was so surprised when she told me she was filling in the tree! Slowly and quietly my other two girls joined us as we had a more heartfelt discussion and filled nearly every speck of the tree up. This was a moment a Mother lives for! Best day ever!
*Note:This is a rewrite of my original post which got accidentally deleted. :( Sorry to say this isn't as good a tale as the original but I still wanted to share this with my readers.

No comments:
Post a Comment